Table of Contents
Introduction
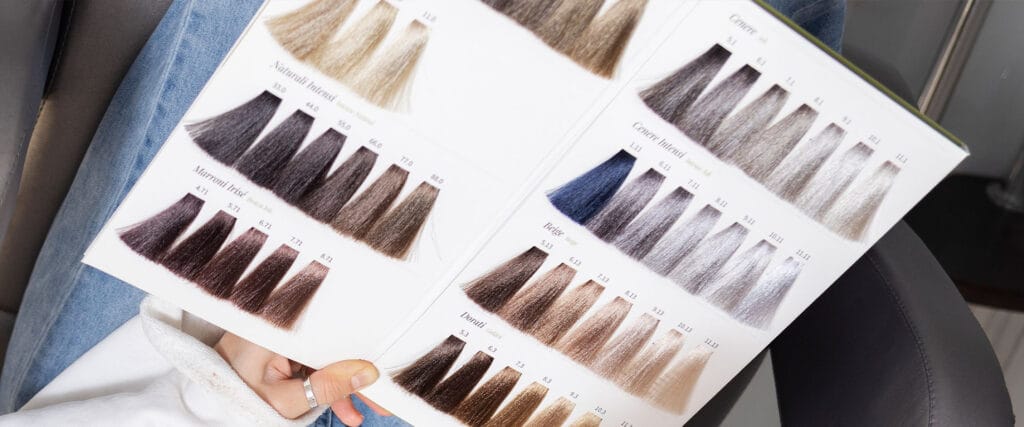
Tape in hair extensions installation looks straightforward from the outside: section the natural hair, position the extension panels, secure the attachment, and repeat. In practice, the difference between a clean installation and a problematic one is usually found in details that are easy to overlook, such as section thickness, weight distribution, attachment alignment, perimeter spacing, and how the finished layout responds when the hair moves.
A successful installation should achieve more than immediate length and volume. The attachments need to remain discreet during everyday styling, the added hair should feel proportionate to the natural hair, and the placement should avoid creating unnecessary tension in isolated sections.
Tape-ins are one method within the broader category of hair extensions. What makes them distinctive is their relatively flat attachment structure and semi-permanent wearing format. Once installed, the extensions become part of the wearer’s normal brushing, washing, sleeping, and styling routine.
This guide explains tape in hair extensions installation from a practical perspective, including preparation, section planning, application sequence, blending, quality checks, common mistakes, maintenance considerations, and a simple installation framework that can help produce more consistent results.
What Should Be Checked Before Installation?
A good tape in hair extensions installation begins before the first extension is attached.
The natural hair should first be evaluated for density, strand condition, texture, length, haircut, parting position, and normal styling habits. These factors influence how many attachment areas can be concealed and where additional hair can be distributed naturally.
For example, someone with strong coverage through the lower back sections but lighter density around the sides may need a different layout from someone whose density is evenly distributed. Applying exactly the same pattern to both heads may create unnecessary visibility or imbalance.
The desired result should also be defined clearly.
Is the goal mainly additional volume?
Is the wearer trying to increase length?
Does the existing haircut contain short layers that need to blend into longer extension hair?
Will the hair normally be worn down, partially tied back, or styled away from the face?
These questions determine where extension hair is actually useful. Installing more panels simply because space is available does not necessarily improve the final result.
Preparing Natural Hair for Tape In Installation
Clean preparation helps create a predictable attachment surface.
Before installation, the natural hair should be free from excessive residue around the intended attachment areas. Heavy oils, styling buildup, or conditioning residue near the roots can interfere with the consistency of an adhesive-based system.
The hair should also be fully dry before sectioning and attachment unless the specific extension system provides different instructions.
Once prepared, comb the hair into its normal parting and observe how it falls naturally. This is an important step because an installation planned on hair pulled into an unusual position may not remain concealed when the wearer returns to their everyday style.
For professional sourcing or product selection, the construction of the extension itself also matters. Yichuan Hair’s tape-in and weft hair extensions include different textures and extension structures that can be matched to different styling requirements.
Preparation is therefore not only about cleaning the natural hair. It is also about confirming that the extension texture, color, density, and intended placement are compatible before application begins.
Plan the Installation Before Attaching the First Piece
One of the most useful habits in tape in hair extensions installation is planning the whole layout before concentrating on individual attachments.
Think of the head as a three-dimensional surface rather than a series of horizontal rows.
Some zones provide strong coverage. Others move frequently or become exposed when the wearer changes hairstyles. The most effective layout uses the strongest, best-concealed areas for extension support while maintaining enough free natural hair around visible zones.
A simple planning method is to divide the installation into four areas:
- lower support zone;
- middle volume zone;
- side blending zones;
- free perimeter and coverage zone.
The lower and middle areas typically provide more freedom for extension placement because they are covered by natural hair above them.
Side areas require greater precision because they contain less hair and move more visibly.
The perimeter, crown, normal parting, and areas immediately around the hairline should generally retain enough free natural hair to provide coverage.
This approach prevents a common installation mistake: placing extensions wherever there is physical space without considering how those attachments will behave when the hairstyle moves.
Tape In Hair Extensions Installation at a Glance
The table below summarizes the key stages and what should be checked at each point.
| Installation Stage | Main Objective | What to Check |
|---|---|---|
| Hair assessment | Understand the natural foundation | Density, condition, texture, haircut, parting |
| Extension selection | Match added hair to natural hair | Color, texture, length, density |
| Preparation | Create a clean attachment environment | Dry hair and controlled root buildup |
| Layout planning | Determine safe and discreet placement | Perimeter, crown, sides, support zones |
| Sectioning | Create balanced natural hair sections | Clean lines and appropriate section thickness |
| Attachment | Secure extension without excessive tension | Alignment, spacing, hair distribution |
| Row building | Develop volume progressively | Symmetry and density balance |
| Side placement | Improve front-to-back blending | Visibility and natural movement |
| Final blending | Integrate natural and extension hair | Texture, shape and density transition |
| Quality check | Test the installation in motion | Comfort, concealment and styling flexibility |
Following the steps in the correct order reduces the temptation to solve problems later by simply adding more extension hair.
Step 1: Create a Reliable Perimeter
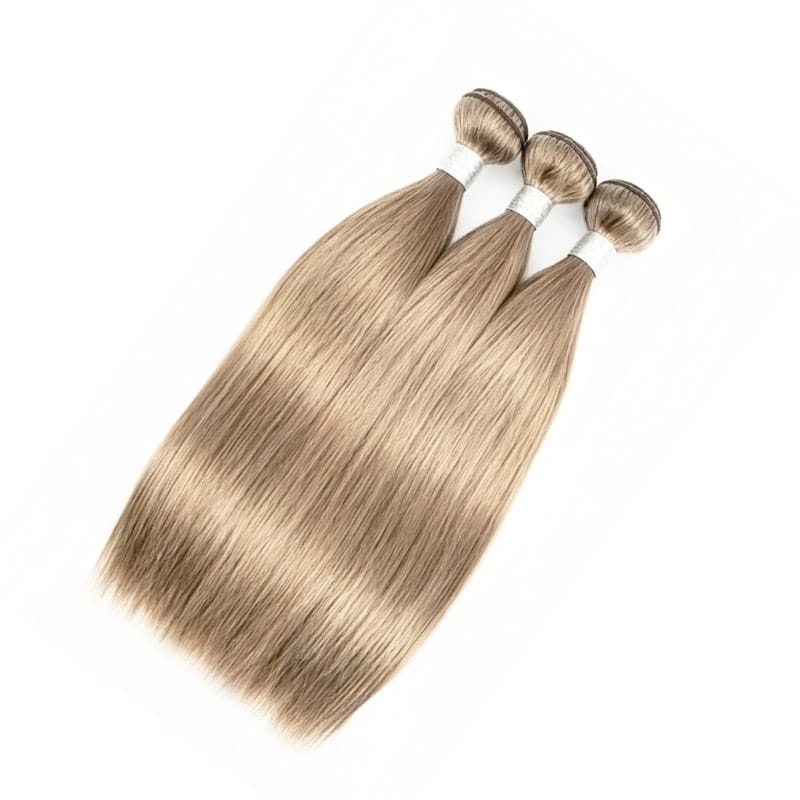
The perimeter is one of the most important parts of a discreet installation.
Enough natural hair should remain free around the outer hairline, crown, parting, and other highly visible zones so that the tape attachments stay covered during normal movement.
An attachment can appear perfectly hidden while the hair is hanging straight down but become visible when the wearer tucks the hair behind the ear or moves it to one side.
For this reason, perimeter planning should be tested dynamically.
Move the natural hair backward.
Move it forward.
Change the parting slightly.
Lift a section as though creating a partial upstyle.
If the planned attachment area becomes immediately visible during these movements, the extension may need to be positioned farther inside the coverage zone.
A good installation does not depend on the wearer keeping the hair in exactly one position.
Step 2: Create Clean, Controlled Sections
Sectioning affects both appearance and mechanical balance.
A section that is too irregular can lead to uneven attachment contact or inconsistent distribution of the natural hair. A section containing inappropriate amounts of hair may also affect how the extension sits.
The goal is not simply to create perfectly straight lines for appearance. The section should provide a consistent natural-hair foundation.
Before attaching an extension, check three things:
Does the section contain enough hair to support the extension?
Is the section thin enough for the attachment system to function as designed?
Is there enough natural hair above the planned location to conceal the extension?
These three checks can be thought of as the support-section-coverage test.
If one element fails, it is usually better to adjust the section before application rather than trying to compensate after the extension has been attached.
Step 3: Position the Tape Without Creating Root Tension
Tape extensions are normally positioned close enough to the root to remain integrated with the hairstyle, but not so tightly that the natural hair loses its normal movement.
Installing an attachment under unnecessary tension can create discomfort and make the extension move less naturally.
A practical check is to observe how the section behaves immediately after attachment.
The natural hair should not appear sharply pulled toward the extension.
The attachment should sit smoothly.
The surrounding hair should still fall naturally.
The wearer should not experience concentrated pulling from one individual section.
The root area also needs enough freedom for the hair to move during normal styling.
Closer is not automatically better. The objective is a stable attachment that works with the natural direction of hair growth rather than forcing the hair into an unnatural position.
Step 4: Align the Attachment Carefully
Alignment is important because uneven attachment positioning can affect how extension hair distributes below the root.
If the panels are misaligned, hair may pull unevenly or the extension may sit at an angle that becomes harder to conceal.
Before securing the attachment completely, check the direction of the natural section.
Hair does not grow in exactly the same direction across the entire head. Side sections, for example, may behave differently from sections at the back.
The extension should follow the natural fall of the hair rather than being forced into a standardized angle everywhere.
This detail becomes especially important when creating a result intended to move naturally.
A technically secure attachment can still produce an awkward finished style if the extension hair does not follow the surrounding flow.
Step 5: Build the Lower Rows First
Building the installation from lower sections upward makes it easier to evaluate density as the work progresses.
The first rows create the foundation for length and lower-volume distribution.
After completing a lower section, allow the natural hair and extension hair to fall together. Check whether the added density is balanced before moving upward.
This gradual evaluation is important.
If too much extension hair is installed early, the upper sections may later require additional volume simply to make the overall hairstyle look proportional. What began as one overly dense area can therefore create a chain reaction throughout the installation.
Instead, build density progressively.
After each stage, assess:
overall fullness;
left-to-right balance;
natural movement;
transition from natural ends into extension hair;
and whether additional hair is genuinely necessary.
The best tape in hair extensions installation is not necessarily the one using the greatest number of extensions. It is the one in which every installed section has a clear visual or structural purpose.
Step 6: Treat Side Sections Differently
Side placement requires more precision than central back sections.
There is usually less natural hair available for coverage, and the surrounding hair frequently moves when the wearer touches the face, tucks hair behind the ears, or changes the direction of the style.
Using the same attachment strategy on the sides as on the back can therefore lead to visible tapes or disproportionate fullness.
Side extensions should support the overall shape rather than simply duplicate the density of the back sections.
Ask whether the side needs additional length, additional volume, or merely better blending between the natural hair and the extensions already installed at the back.
Sometimes a smaller amount of strategically placed hair produces a more natural result than attempting to create identical density everywhere.
Symmetry should refer to the finished visual balance, not necessarily to using exactly the same number of extension pieces in every zone.
Step 7: Check Density Before Adding the Upper Rows
Before progressing closer to the upper coverage areas, stop and assess the hairstyle as a whole.
This intermediate quality check is valuable because problems are easier to correct before the installation becomes dense.
Look at the hair from the front, back, and both sides.
Observe the transition from natural hair to extension hair.
Move the hair gently.
Check whether one area appears significantly fuller than another.
If the desired length has already been achieved but the natural hair still looks disconnected from the extension layer, the solution may involve strategic blending rather than simply adding more hair.
Upper placement should be used carefully because attachments become harder to conceal as they approach visible areas.
The final rows should refine the result, not compensate for poor planning lower down.
Step 8: Blend the Natural Hair With the Extensions
Installation does not end when the final tape is attached.
Blending determines whether the extension hair looks integrated or appears as a separate layer beneath the natural hair.
Three elements deserve attention: density, shape, and texture.
Density should transition gradually from the natural upper sections into the extension lengths.
Shape should respect the wearer’s existing haircut. Short or blunt natural ends may require more thoughtful blending than long, softly layered hair.
Texture should also behave consistently. Straight natural hair and very differently textured extension hair may separate visually during normal movement.
Before making major adjustments, allow the hair to fall naturally and observe where the transition is actually visible.
Overcorrecting can remove useful density.
A better approach is to make targeted adjustments only where the visual transition needs improvement.
Step 9: Perform a 360-Degree Concealment Check
One of the most useful quality-control steps is checking the installation from multiple directions.
Do not evaluate only the back view.
Look at:
the normal part;
both side profiles;
the crown;
the area around the ears;
the outer hairline;
and the movement of the hair when it is shifted from side to side.
You can also simulate common hairstyles.
Move some hair backward as though preparing a low ponytail.
Create a loose half-up section.
Tuck the side hair behind the ears.
Change the part slightly.
An attachment that becomes exposed immediately during one of these normal movements may need adjustment.
This is a stronger concealment test than simply asking whether the tapes can be seen while the wearer is sitting still.
Step 10: Perform a Comfort and Tension Check
Visual quality is only one part of a successful installation.
Every attachment should also be checked for comfort.
Ask whether any single section feels noticeably tighter than the others.
Look for natural hair that appears pulled sharply away from its normal direction.
Move the hair gently around each area.
Comfort should feel relatively consistent rather than being dominated by one or two unusually tight points.
This step is especially valuable because visual symmetry does not guarantee mechanical balance.
Two extensions may look identical from the outside while being supported by very different amounts of natural hair underneath.
A professional installation should therefore evaluate what cannot be seen as carefully as what can.
Common Tape In Hair Extensions Installation Mistakes
Several installation problems repeatedly come from the same underlying mistake: focusing on attaching hair instead of designing the complete hairstyle.
Installing Too Close to the Crown
Placing tapes high on the head may seem useful for creating upper volume, but these areas often have greater visibility.
The higher the attachment, the less natural hair remains above it for coverage.
Upper placement should therefore be used only when sufficient concealment remains available during normal movement.
Using Sections That Are Too Heavy
More extension hair is not automatically better.
If a section of natural hair supports disproportionately heavy extension hair, the attachment may create unnecessary tension.
Density should be distributed according to natural support rather than concentrated merely to reduce the number of sections.
Ignoring Hair Growth Direction
Hair around the head does not all fall vertically downward.
Forcing attachments into directions that conflict with the natural growth pattern can affect movement, comfort, and concealment.
The extension should follow the section rather than forcing the section to follow the extension.
Building Density Too Quickly
Adding excessive volume in the first rows can make later sections difficult to balance.
Build gradually and reassess after each zone.
This keeps the finished hairstyle proportional and reduces unnecessary extension use.
Forgetting About Everyday Hairstyles
An installation may look excellent with the hair worn down but become inconvenient when the wearer changes the part or moves the hair away from the face.
Planning should incorporate normal styling behavior from the beginning.
How to Evaluate Installation Quality
Instead of judging tape in hair extensions installation only by whether the attachments are secure, use a broader quality framework.
A practical installation audit can be built around five questions.
Is the Attachment Concealed?
Attachments should remain discreet in the wearer’s normal hairstyles, not just when the hair is carefully positioned.
Is the Weight Distributed?
No small section should appear to carry a disproportionate amount of added hair.
Does the Hair Move Naturally?
The extension hair should follow the movement and direction of surrounding natural hair.
Is the Density Proportional?
Added volume should transition naturally from the roots through the lengths.
Is the Installation Comfortable?
There should not be persistent concentrated tension in individual areas.
If all five conditions are satisfied, the installation is much more likely to function as a complete hairstyle rather than simply a collection of secure attachment points.
Installation and Natural Hair Condition
Natural hair condition should influence every stage of installation.
Extensions add length and volume, but they do not change the underlying strength of the hair supporting them.
If an area appears particularly fragile, has limited density, or cannot provide reliable coverage, forcing an extension into that section may not improve the final result.
This is particularly important around the hairline and other areas where natural density can differ from the central sections.
The installation plan can be asymmetrical at the technical level while still producing a visually balanced finished style.
For example, one side may require a slightly different placement pattern because natural density is not identical.
Professional judgment means adapting the layout to the hair rather than assuming that visual symmetry requires identical attachment positioning.
What Happens After Tape In Hair Extensions Installation?
The quality of an installation continues to depend on what happens after application.
Because tape-ins remain integrated with the natural hair, daily maintenance affects both the extension hair and the attachment areas.
Brushing should be controlled rather than aggressive. Supporting the hair near the attachments while detangling the lengths can reduce unnecessary pulling.
Washing should focus on cleaning the scalp and hair without repeatedly rubbing attachment areas together.
Conditioning products can be used through the lengths where needed, but unnecessary heavy buildup around the attachment areas should be avoided.
Heat styling should also be managed carefully.
Human hair extensions can provide styling flexibility, but repeated excessive heat can reduce hair quality over time. Direct heat around attachment components should be handled according to the specific extension system.
The goal of aftercare is not to make the extensions difficult to live with. It is to prevent small daily habits from gradually undermining an otherwise well-planned installation.
When Should an Installation Be Reassessed?
Tape-in extensions should not be treated as a completely static hairstyle.
Natural hair continues to grow, which changes the distance between the scalp and the attachment. The way the extension moves and the amount of root freedom therefore change over time.
Maintenance should include checking:
attachment position;
natural hair condition;
tangling around the root area;
extension texture and manageability;
and whether the original placement still suits the wearer’s styling habits.
An installation should also be reassessed if the wearer experiences persistent pulling, unusual discomfort, visible attachment exposure, or significant difficulty maintaining particular areas.
Waiting until the extensions become difficult to manage is not a good maintenance strategy.
Regular observation allows small placement or care issues to be identified before they become larger problems.
A Practical Installation Framework: Support, Space, Direction and Coverage
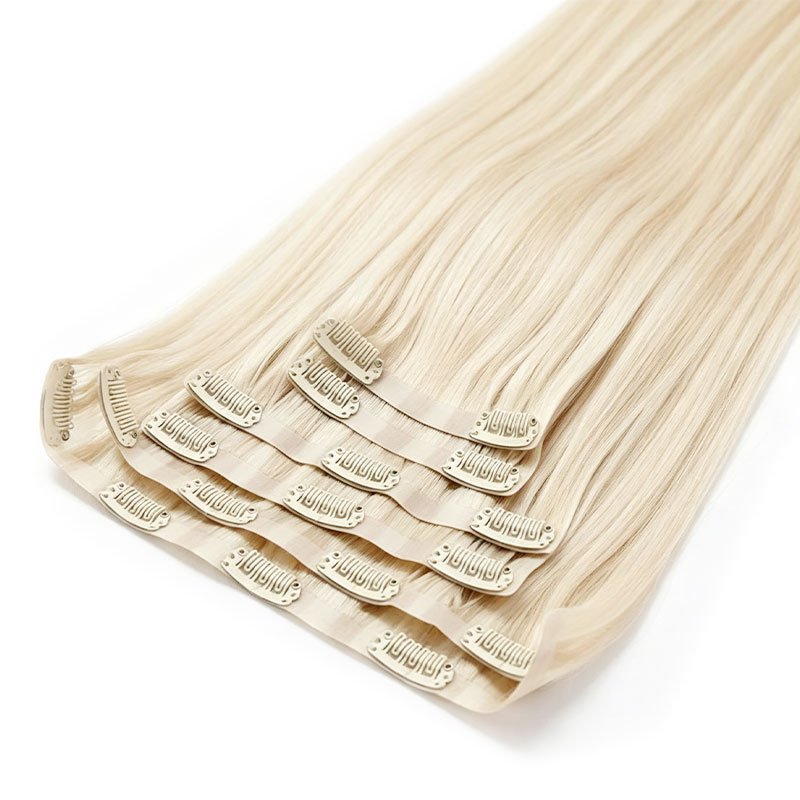
For a more consistent tape in hair extensions installation, four concepts can be used as a final decision framework.
Support
Does the natural section contain enough hair to support the extension comfortably?
Space
Is the attachment positioned with enough freedom at the root for natural movement?
Direction
Does the extension follow the way the natural hair naturally falls?
Coverage
Is there enough free hair surrounding the attachment to keep it discreet during everyday styling?
These four checks can be applied to almost every planned extension section.
If support is insufficient, adjust the section.
If space is inappropriate, reposition the attachment.
If direction looks unnatural, follow the natural growth pattern more closely.
If coverage is weak, move the extension farther inside the concealed area.
This framework makes installation decisions easier because it focuses on function rather than simply following a fixed placement map.
Conclusion
A high-quality tape in hair extensions installation depends less on how quickly extensions can be attached and more on how carefully the complete hairstyle is planned.
Natural hair density, extension weight, attachment direction, perimeter coverage, section quality, texture, and everyday styling habits all influence the final result. The most successful installations build length and volume progressively rather than treating every available section as a place that needs an extension.
Careful sectioning provides support. Thoughtful placement improves concealment. Appropriate weight distribution contributes to comfort. Accurate blending helps the extensions move and look like part of the natural hair.
The most useful installation principle is simple: every extension should have a reason for being where it is.
When placement is guided by support, space, direction, and coverage, tape-in extensions can create a balanced result that remains practical beyond the moment installation is completed.
FAQ
How are tape in hair extensions installed?
Tape-in extensions are applied to carefully sectioned natural hair using flat adhesive attachment panels. Proper installation considers natural density, section thickness, root movement, attachment alignment, and coverage so the extensions remain secure, comfortable, and discreet during normal styling.
Can you do tape in hair extensions installation yourself?
Application may appear simple, but accurate sectioning, weight distribution, symmetry, attachment alignment, and concealment require careful control. Incorrect placement can create visible attachments or uneven tension, so anyone installing tape-ins should understand the complete layout rather than focusing only on securing individual pieces.
Where should tape in extensions be placed?
Tape-ins should be positioned in areas with enough natural hair to support and conceal the attachment. The outer hairline, visible partings, crown, and frequently exposed areas generally require sufficient free natural hair around them. Placement should also follow the natural direction of hair growth.
How do you know if tape in extensions are installed correctly?
A good installation should feel comfortable, distribute added hair proportionally, remain concealed during normal movement, and blend naturally with the wearer’s existing density and texture. No individual section should create persistent pulling, and the extensions should follow the natural direction of the surrounding hair.
What should be avoided after tape in hair extensions installation?
Avoid unnecessary pulling, aggressive brushing, heavy product accumulation around the attachment areas, and careless handling during washing or styling. Consistent aftercare helps protect the natural hair, extension hair, and attachment system while keeping the installation manageable as the natural hair grows.
Need Help Choosing the Right Tape In Hair Extensions?
If you’re looking for tape in hair extensions that match your preferred texture, length, color, density, or professional application requirements, our team can help you select a suitable solution. Contact Yichuan Hair for personalized guidance and extension options designed for natural blending, reliable attachment, and consistent performance.